


You can install our Streaming Platform on a virtual or any type of dedicated server that meets the mininum requirements . Installation is only possible on a clean server, you must have SSH access to the server.
Important: if the procedure described below causes difficulties for you, you are afraid of breaking something or you do not have experience - no problem, just provide our specialists with access to the server during installation (you can change your passwords later) and we will perform the installation free of charge.
Connecting to the server:
To perform the installation, you will need:
- server IP address
- root user password (SSH key will also work)
- Terminal program. MacOS and Linux have native built-in terminals, on Windows you can use Putty
Installation:
In this example article we will install the software on a server with the following parameters:
- IP address: 109.172.7.21
- Domain name: demo.streaming.center
- SSH Username: root
- SSH Password: XqWgxD901jP0
- Operating system: Ubuntu Linux 24.04
Your IP address and the password of the root user will differ from those that we have here.
Linux/MacOS:
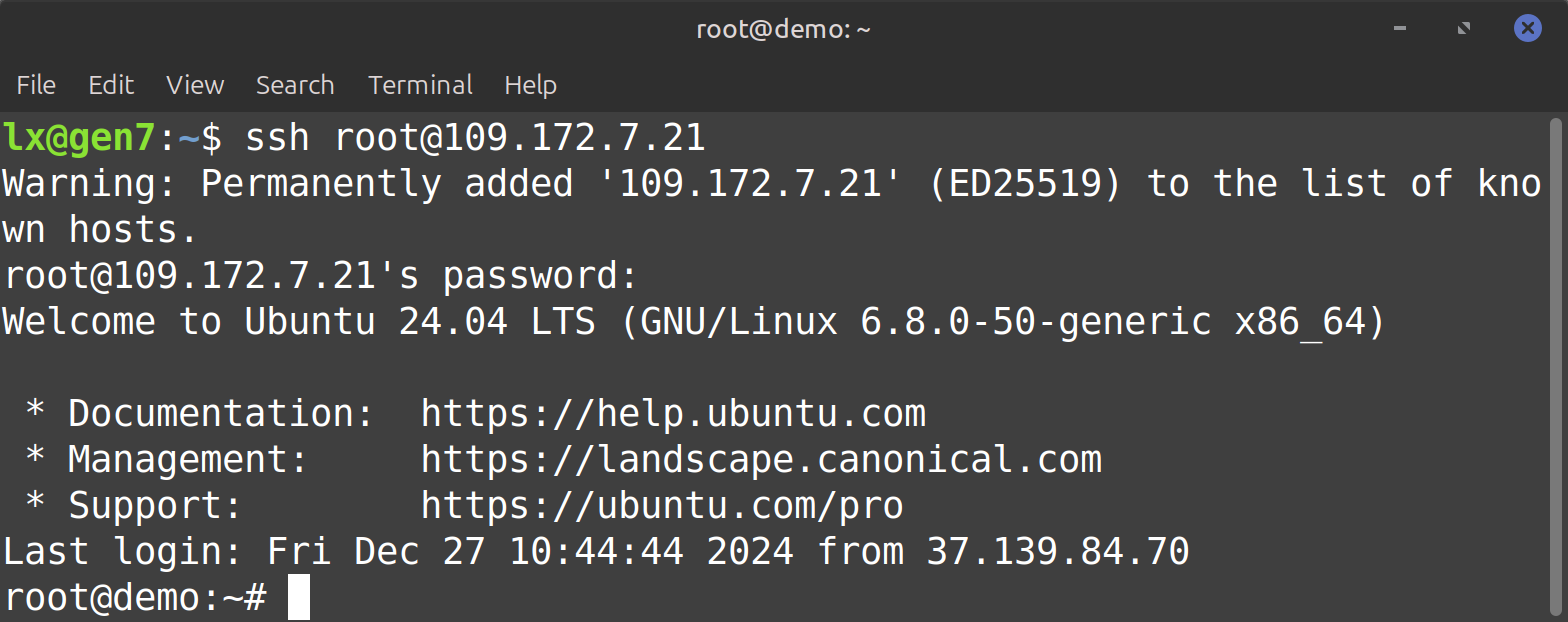
To connect to the server, run ssh in the terminal
Run this command in your terminal to connect to the server: ssh root@109.172.7.21 and provide XqWgxD901jP0 password when asked:
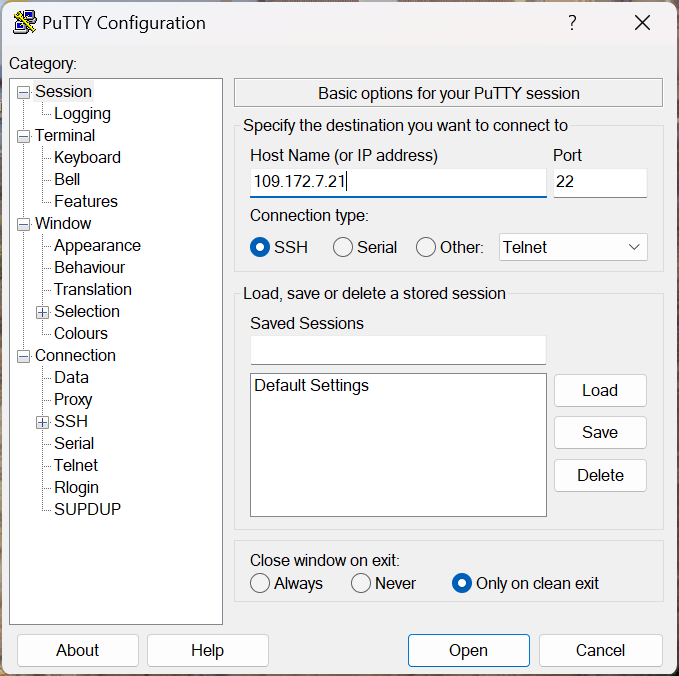
Windows and Putty:
After installing Putty, you must enter the server’s IP address on the home screen:
When you click the Open button, you will be prompted for the username: enter root and password - XqWgxD901jP0:
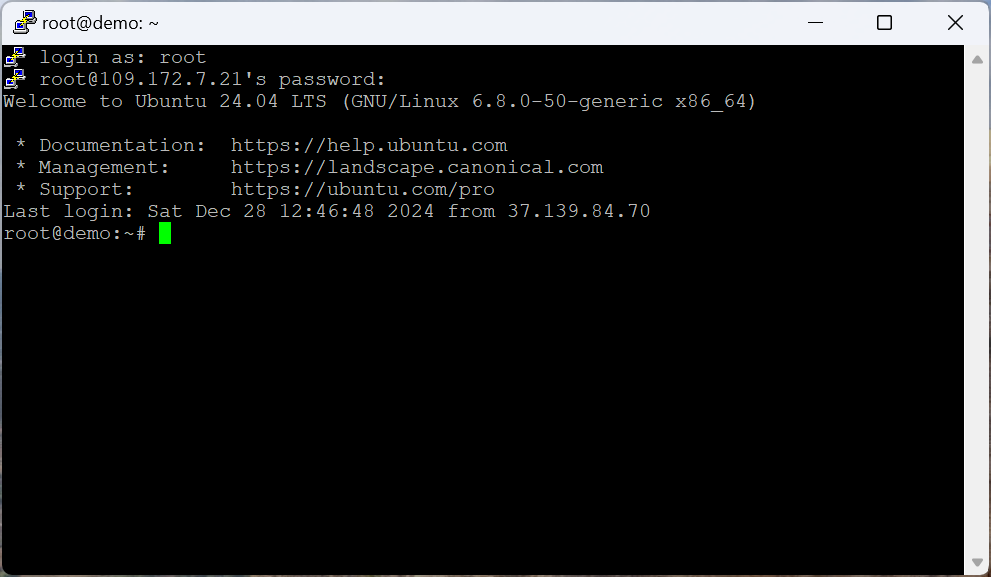
Further commands in the terminal are the same and do not depend on your operating system.
Full video of the installation process
Starting the installation script
Copy and run this command in your terminal: bash <(curl -s https://streaming.center/dist/install.sh)
Choosing disk drive partition
At the first step, the system will display the following message, which requires confirmation from your side:
The software default installation path is /var/users. Make sure you have enough space on that partition.
If not - you can create a symbolic link from /var/users to any other partition that has enough disk space.
Press [y] to continue or any other key to quit.
At this step, the system informs you that the /var/users/ partition will be used to store radio files (including audio files that take the most disk space).
If your disk is not partitioned, just accept this question by default, but if your disk has the partition with the largest number of megabytes, for example, in the /home partition, then you can, for example, make a symbolic link from /var/users to /home/users in advance, before continuing the installation, so that there is enough space for user data and files.
To confirm, press “y” or abort the installation, prepare the disk partitions and start again.
Setting the domain name
Having a domain name for the radio is very important, as listening link URLs will use it, a URL for logging into the Radio Control Panel itself will also be using the domain name, for example using stream.radio.com it is much more convenient than a digital IP address.
Moreover, if in the future you want to move to a server with a different IP address, then the links to the streams and the control panel will not change, since the domain can simply be reconfigured to a new IP by configuring DNS and nothing will change at all for your listeners.
Additionally, if you have a domain name for the radio, you can easily set up a free SSL certificate.
The installation script at this stage outputs the following:
Please enter your domain name or leave blank to run the software on IP address [109.172.7.21]:
NOTE: SSL encryption is available for valid domains only and not available for IP address
(the address 109.172.7.21 in your case will be different - this is the IP address of your server.)
We will be using demo.streaming.center domain in our example and this domain is already configured to resolve to 109.172.7.21 IP address by creating an А record type with demo nama and 109.172.7.21 as a value in the DNS settings of the root streaming.center domain, so we provide it to the installation script:
demo.streaming.centerPress Enter to continue. The domain name must be configured and linked to the server’s IP address (109.172.7.21 in our case) via DNS before installation begins. If you install the panel on a domain that is linked to another IP address, the control panel will not work properly.
Admin Email address
System reports, passwords, and other official information will be sent to this email. Using this email, you can later restore the administrator password.
Please enter your admin account email:We enter our email address:
info@streaming.centerSSL certificate
In the next step, the installation script will request the installation of an SSL certificate:
Do you want to create Let's Encrypt SSL certificate for your domain? [y/N] The SSL certificate is configured via Letsencrypt.org service and it is free. It is updated every 90 days automatically and immediately connects to both the Radio Control Panel and radio streams. We recommend that you agree and continue the installation by pressing “y”, but if for some reason the certificate is not necessary, or you want to configure it later, press “N”. If you did not specify a domain name earlier when installing the panel and set the panel to an IP address, this question will not appear. If you agree to install the certificate, the script will request a service email address to which notifications about the operation of the certificate and its update will be sent:
Enter your email address (required by Let's Encrypt SSL cenrtificate): Usually you can just use the same admin email that you used before:
info@streaming.centerFinishing the installation, getting your credentials
So, if everything went well, at the last step, the installation script will give you the URL, username, and password to log in to the admin interface:
Installation is complete, you can now sign in to the control panel:
URL: https://demo.streaming.center:2345

Username: admin
Password: Njc3OGNjOT
Admin Interface
After logging in, you should see the admin control panel:
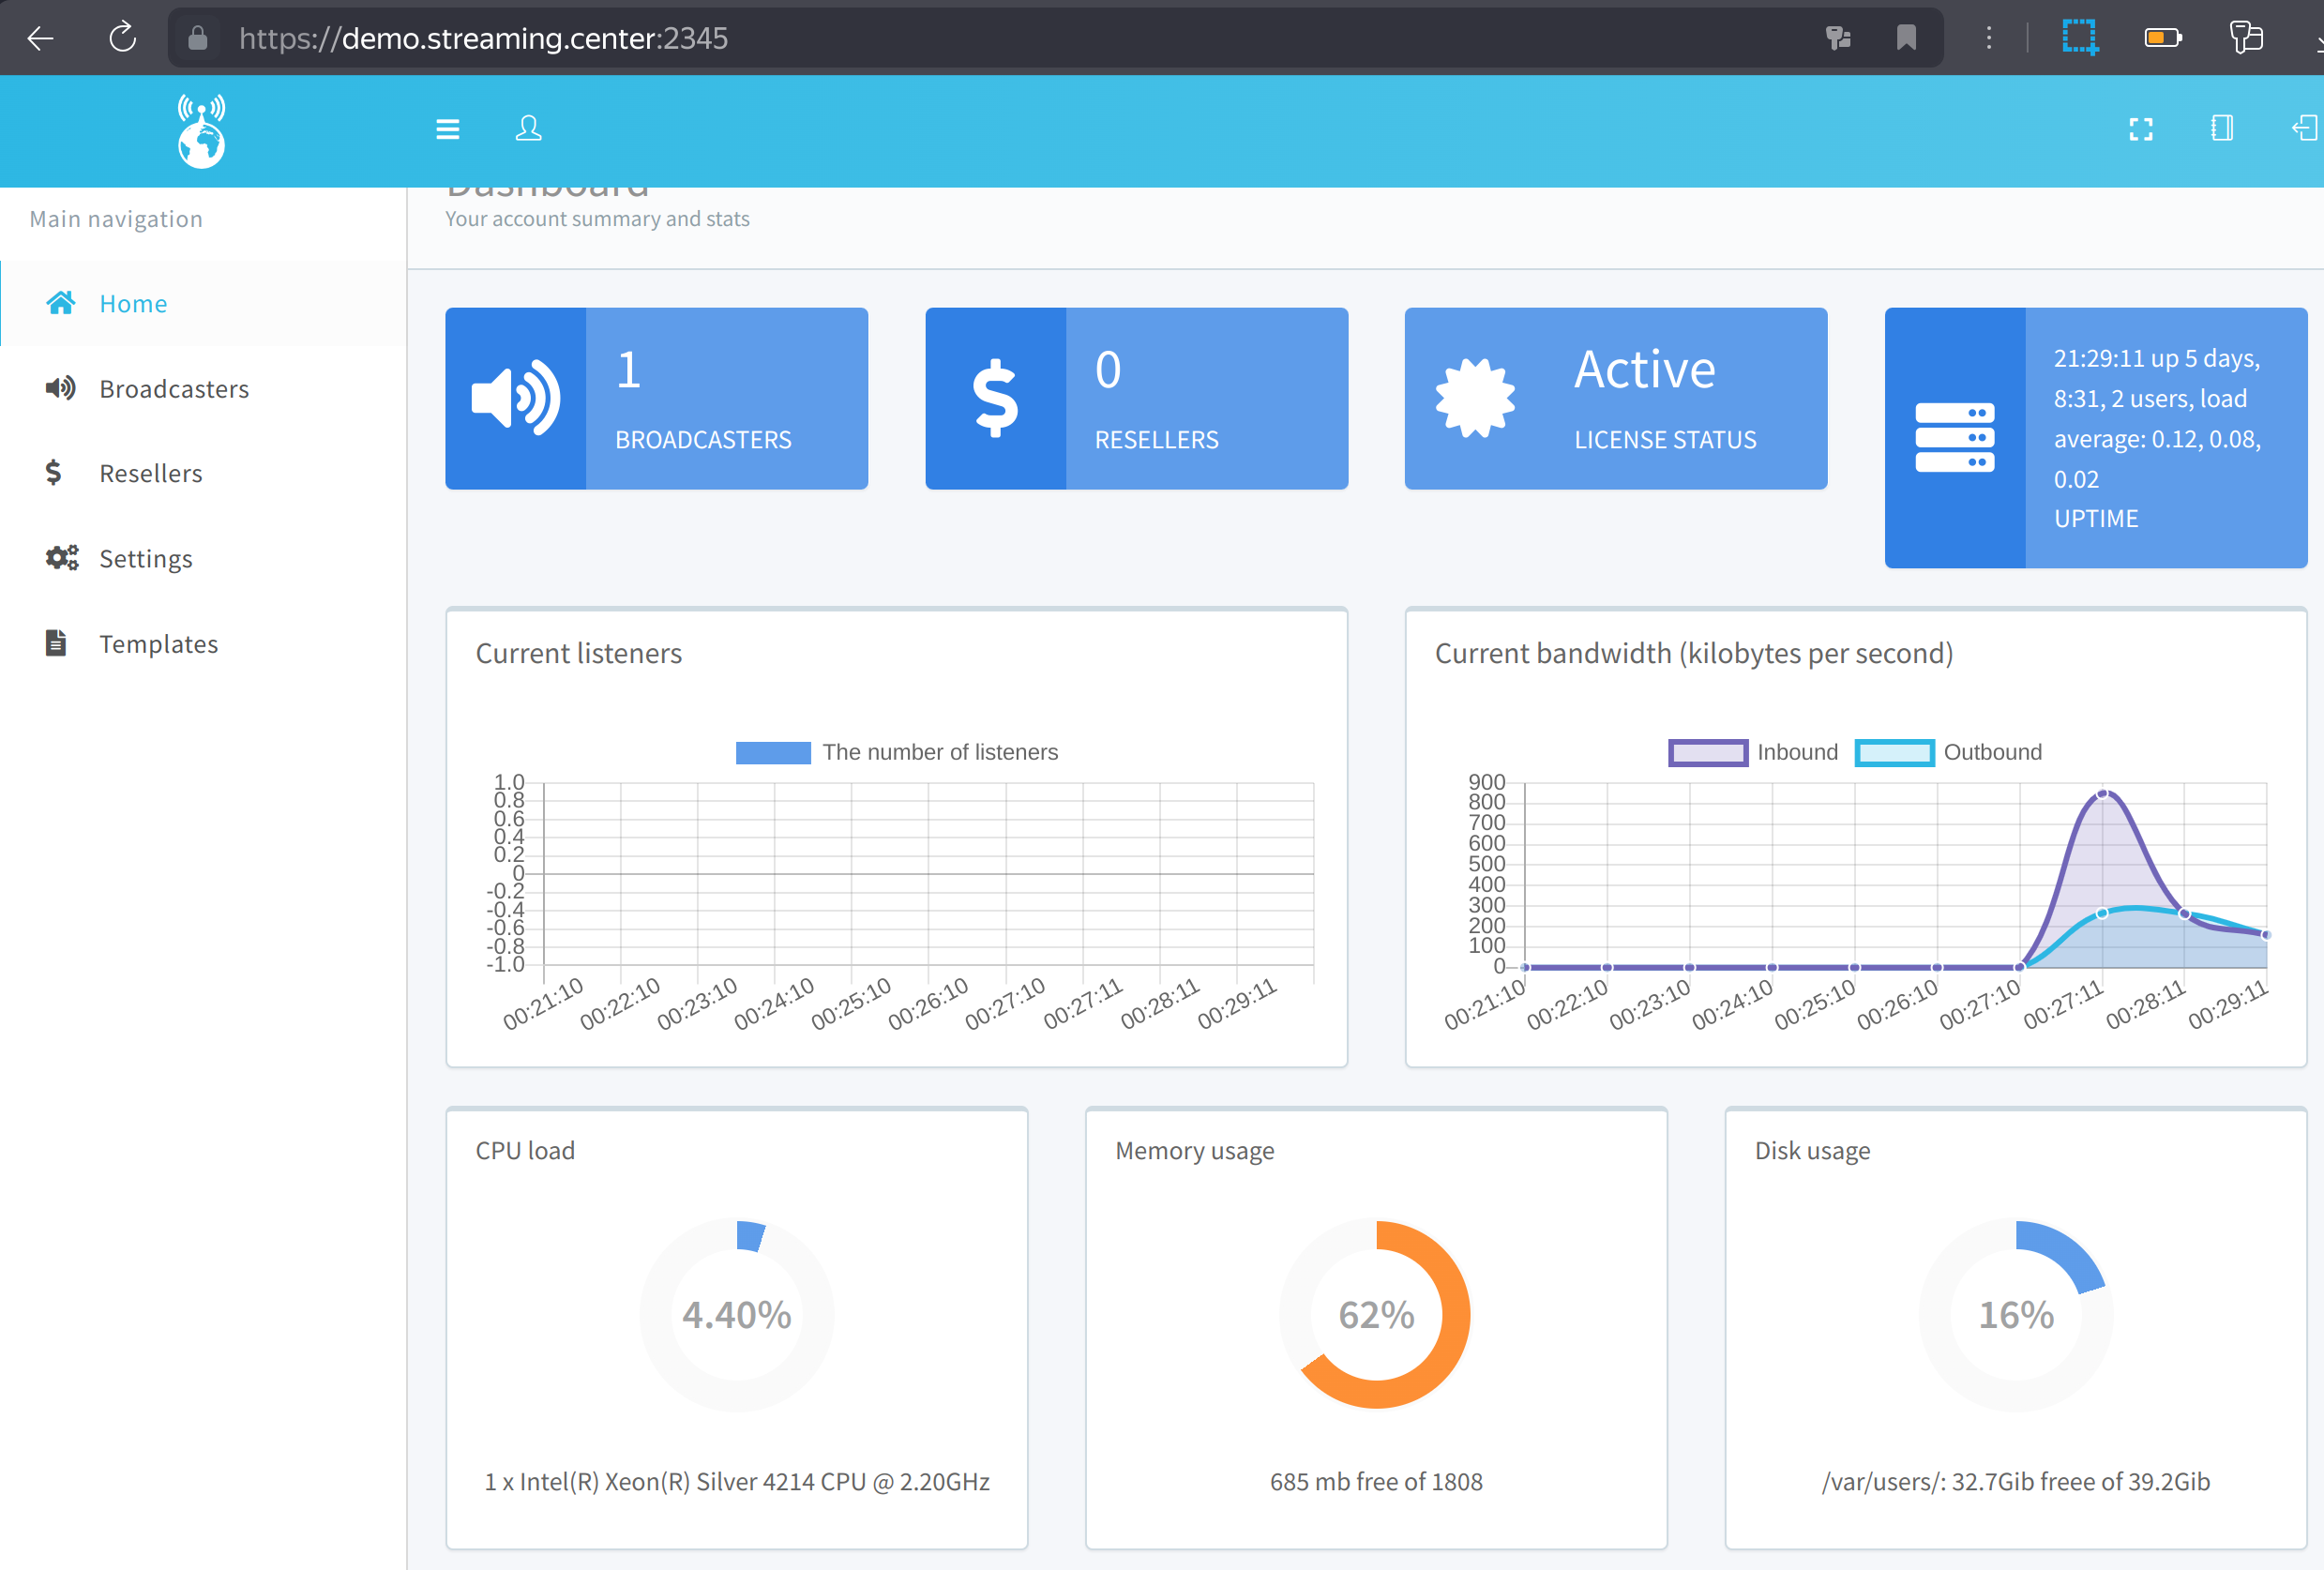
To create a radio, go to the “Broadcasters” section of the admin panel and create a radio station there, after which you can log in either using your created username and password, or by clicking on the blue icon of the entrance to the admin panel and set up broadcasting. Immediately after installation, you will have 2 days of free operation of the radio control panel, after which, in order for the radio to continue working, you must top up your balance in your account .