


Renting a server for Internet Radio (VPS/VDS or dedicated)
This article explains how renting a server for internet radio usually works on most common hosting providers. You can use a VPS/VDS (virtual server) or a dedicated server — both options are supported.
Important note: our Streaming.Center panel does not lock you to any particular hosting company. You can choose any provider you like — it doesn’t matter to us. The only requirement is that your server meets the minimum specs from our system requirements.
- System requirements: /docs/system/system_requirements/
Examples of well‑regarded providers (US & Europe)
There’s no single “best” provider for everyone, but these companies are commonly considered reliable and user‑friendly (and are often well‑reviewed) in the US and European markets.
VPS/VDS (easy to start):
- US / global: DigitalOcean, Vultr, Linode (Akamai Connected Cloud)
- Europe / global: Hetzner, OVHcloud, Scaleway, UpCloud
Dedicated servers (more performance per $ at scale):
- US / global: OVHcloud, Liquid Web
- Europe / global: Hetzner, OVHcloud, Leaseweb
Pick the provider and region that best match your audience and your budget.
What to pay attention to (most important)
1) Disk type and performance (SSD/NVMe)
For radio projects, disk performance matters more than many people expect — especially if you upload lots of audio files, generate playlists, run backups, or store logs.
- Prefer NVMe (best) or SSD storage.
- Avoid old HDD plans unless you are sure performance is acceptable.
- If the provider publishes IOPS / throughput numbers, compare them. If they don’t, check real user reviews for notes about “slow disk” or “noisy neighbor” issues.
2) CPU quality (recent generation) and CPU policy
Providers may advertise “2 vCPU” but the real performance can vary a lot.
- Prefer providers that use modern CPUs and clearly describe their infrastructure.
- Watch for “shared CPU” vs “dedicated CPU” / “premium CPU” plans. Shared CPU can work fine for small setups, but may struggle with heavy workloads.
- If you plan to use CPU‑intensive features (for example StereoTool or streaming to multiple social platforms), choose more CPU headroom than the minimum.
3) Network bandwidth and limits
Your listener capacity is limited mostly by network throughput.
- A plan with 1 Gbps port is ideal when you expect growth.
- Verify if the provider has a monthly traffic cap (e.g., several TB) and what happens if you exceed it.
- Prefer locations (data centers) closer to your listeners to reduce latency and improve stability.
4) IPv4 availability
Some providers charge extra for IPv4 or have limited availability.
- Confirm you will get a public IPv4 address if you need one.
- IPv6 is great, but many clients and integrations still rely on IPv4.
5) Backups, snapshots, and restore process
Backups are not only about storing data — they are about restoring quickly.
- Check if the provider offers snapshots and automated backups.
- Confirm pricing and retention (how many copies, how many days).
- If your budget allows it, enable at least snapshots before major changes.
6) Support, SLA, and reputation
Even a great platform can have outages — what matters is how they communicate and how fast issues are resolved.
- Look for transparent status pages and clear incident reports.
- Avoid providers with recurring complaints about bandwidth throttling or unstable nodes.
Typical ordering steps (VPS/VDS or dedicated)
Below is the usual flow you’ll see on most hosting websites.
- Create an account with your chosen provider.
- Choose a plan (VPS/VDS or dedicated) based on our requirements and your expected load.
- Pick a region / data center closer to your audience.
- Select the operating system (recommended: Ubuntu 24.04, x86_64).
- Set up access: Prefer SSH keys (recommended). Otherwise set a strong root password and store it safely.
- Provision the server: VPS/VDS is usually ready in minutes. Dedicated servers may take longer (sometimes hours) and may include extra options (drive type, RAID, IPMI/KVM, etc.).
- Get the server IP address and verify you can connect via SSH.
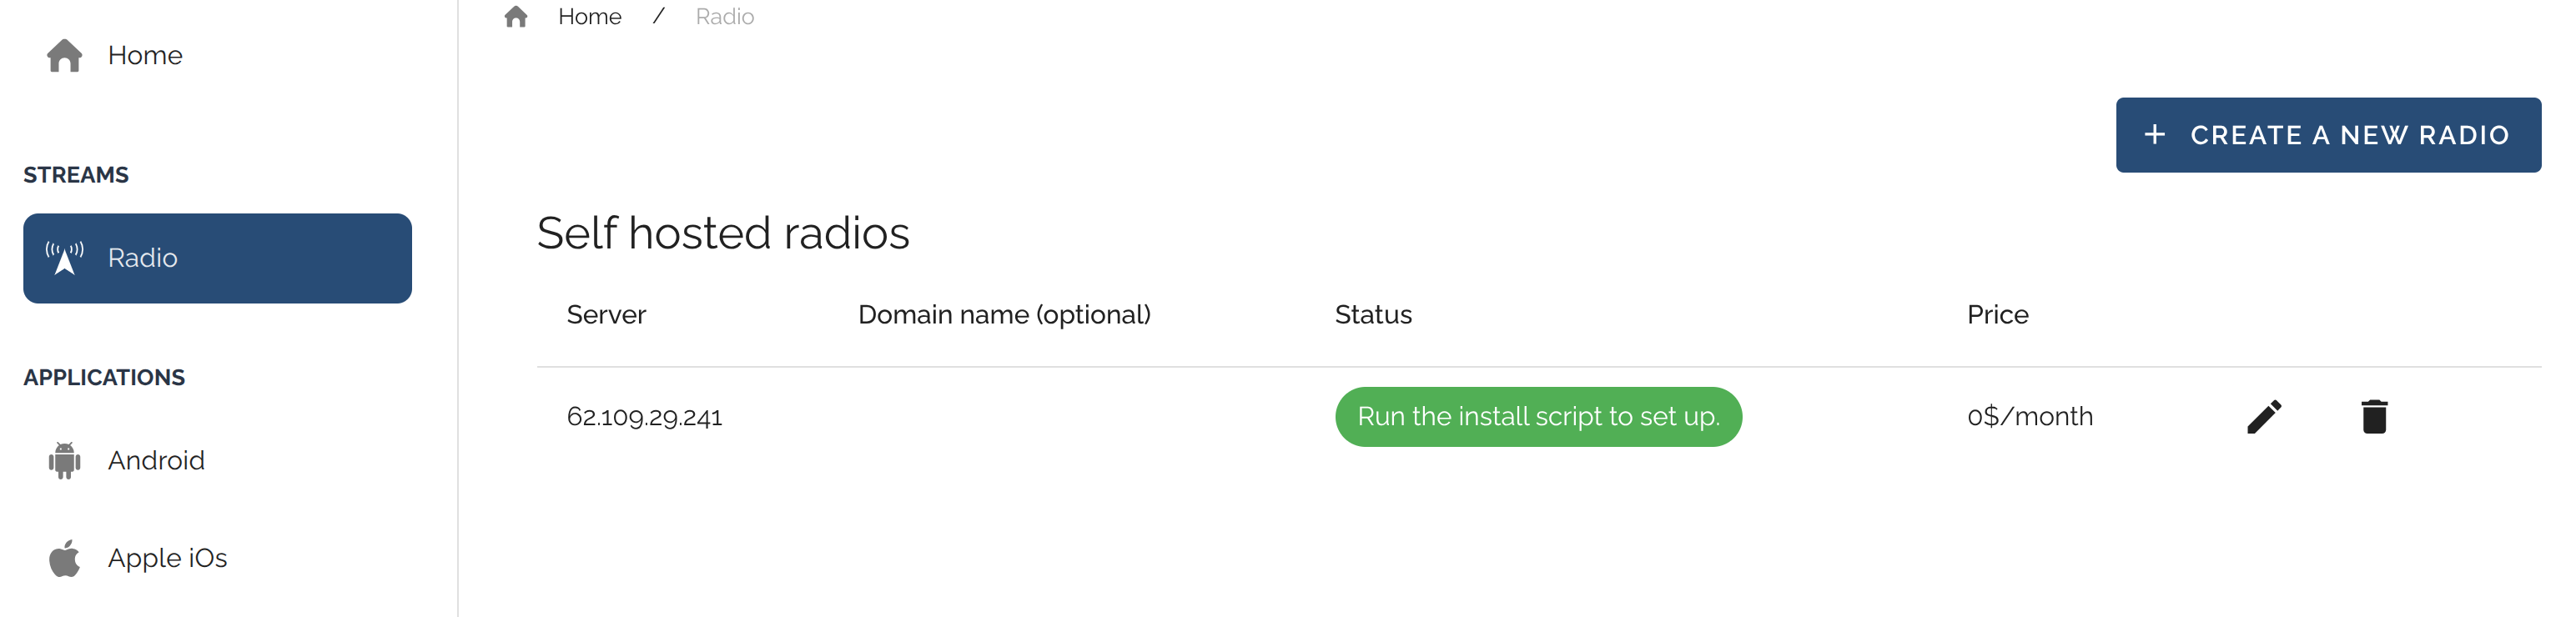
Adding the server to your account
We don’t use license keys tied to your server. To manage a self‑hosted radio with our system, simply add the server to your account. Once you have a running server, its public IP address, and root access (SSH key or password):
-
Create an account on our website (if you don’t have one yet) or sign in.
-
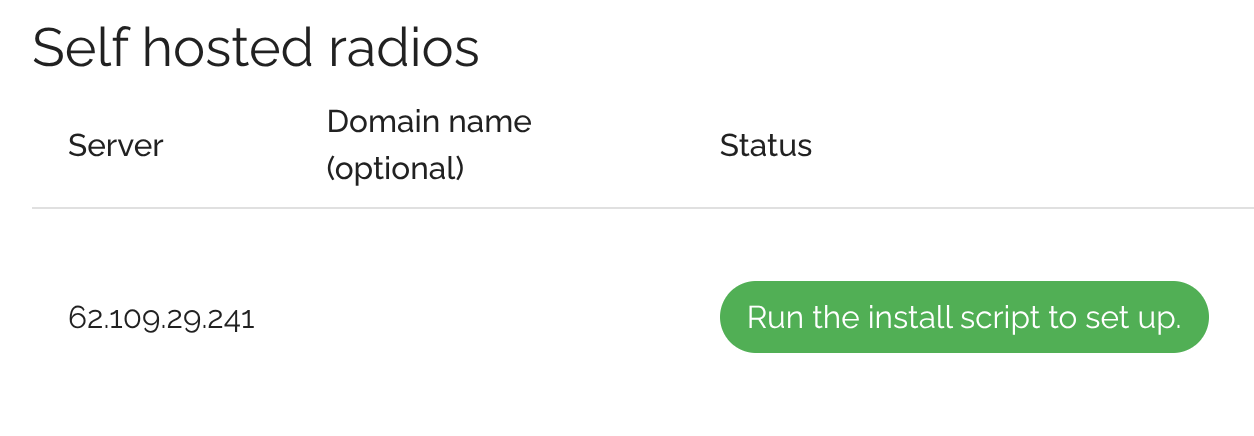
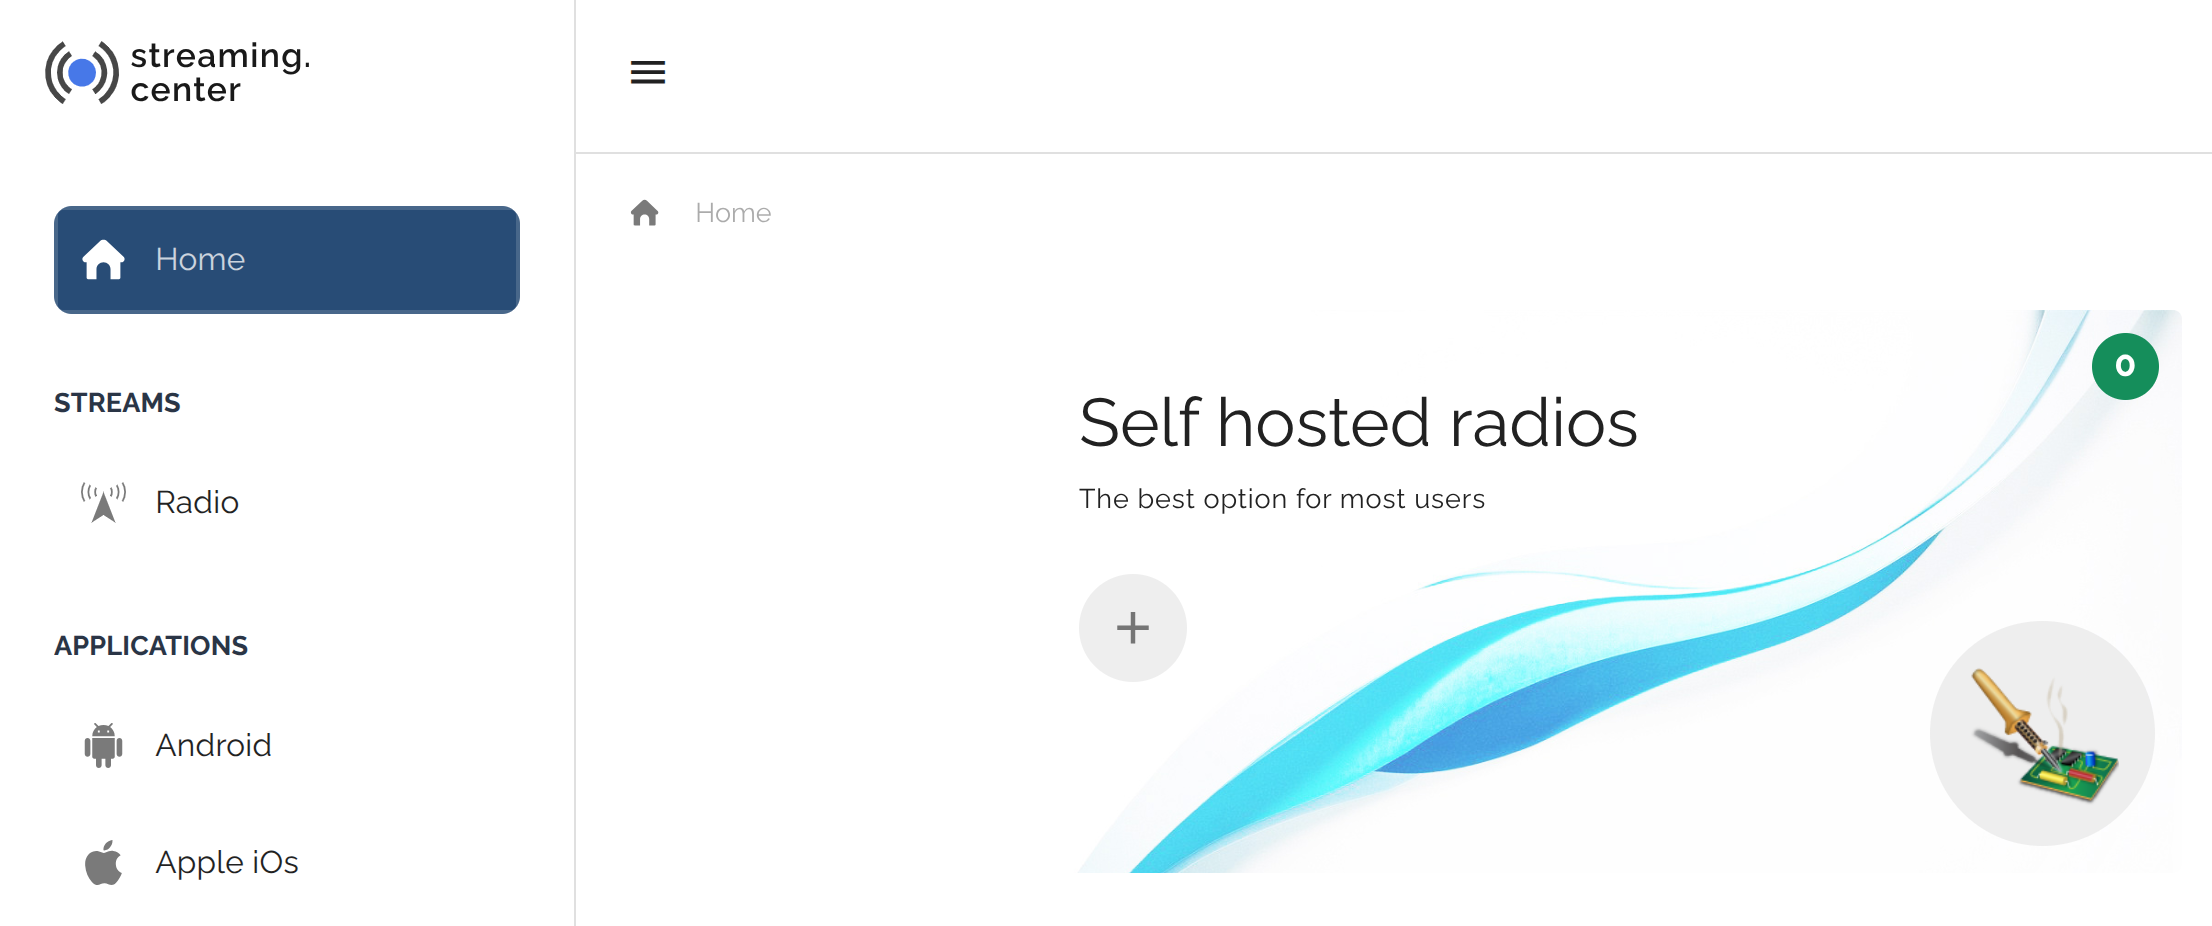
Go to the Self hosted radios section.
-
Click Create new radio.
-
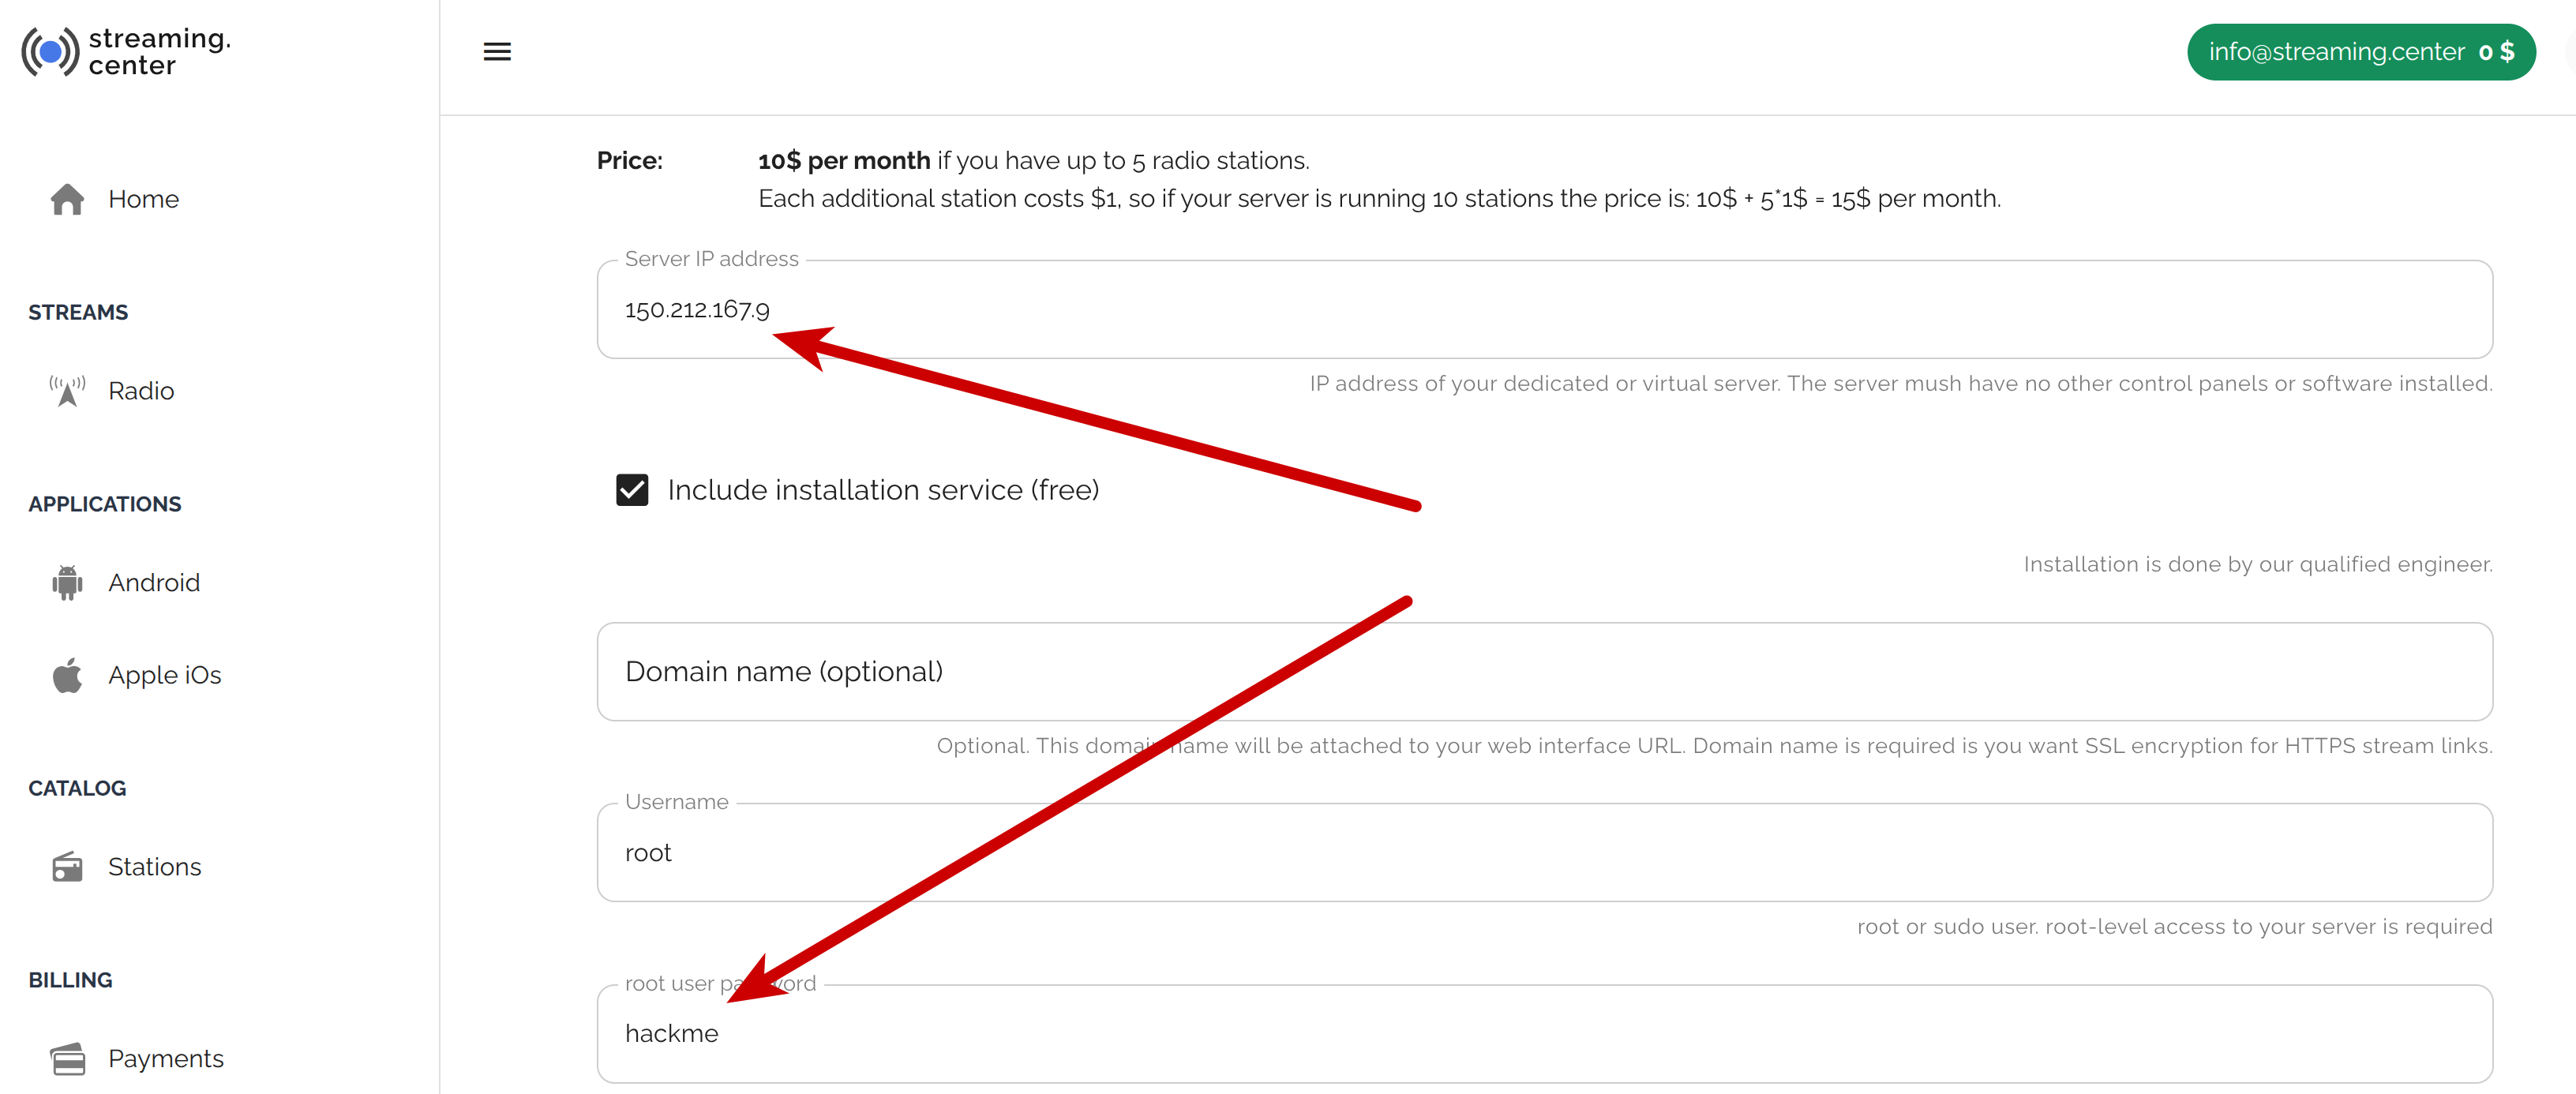
Enter the server IP address and access credentials.

-
If you already have a domain configured, you can attach it now (or later): /docs/system/dns_domain/ . If you don’t have a domain yet, skip this field — you can add it later.
-
That’s it. If you are installing the panel yourself, follow the installation guide . If you requested assisted installation while adding the server, our engineer will connect and complete the setup for you — free of charge.
Quick checklist before you pay
- SSD/NVMe storage (not HDD)
- Modern CPU / clear CPU policy (avoid “mystery” old hardware)
- Enough bandwidth (and clear traffic limits)
- IPv4 availability
- Backups/snapshots available and reasonably priced
- Data center location fits your audience
With a typical provider, the entire process (order → server ready → panel setup) usually takes well under an hour.